趁着更新 Blog 皮肤的机会,也把我拖延很久的一些优化补一补。
最新版本的 Hugo 可以使用 Hugo modules 功能加载一个新的 Theme,我是第一次通过这种方式添加新皮肤,犯了几个错误:
- 首先不应该用
git clone theme-url theme/ 或者其他手工下载的方式了,应该使用文档中说的 hugo mod get -u github.com/CaiJimmy/hugo-theme-stack/v3 方法。 - 在本地测试的话,需要确保本地的 Hugo 安装的是 extended 的扩展版本,否则有些短代码用不了。用这条命令检查
hugo version ,应该返回类似这样的信息:hugo v0.104.2+extended darwin/arm64 BuildDate=unknown
更新了 GitHub Action 的工作流,实现了如下的想法:
- deploy-2-page.yml : 在所有分支的 push 操作上触发构建动作,并且把更新的网站内容发布到 GitHub Pages 的部署分支中,用这个方式实现线上的网站内容预览;当新的分支在本地预览正常后,就可以 push 到远程了,push 之后就可以先在 martinliu.github.io 的域名下实现分支合并前的线上预览,如果线上预览正常的话,在进行合并分支 pr 的操作;如果线上预览有问题,则继续在本地更新,直到线上预览正常之后在合并。
- page-deploy.yml : 当 master 分支上收到 pr 时触发这个发布操作,我将 GitHub Pages 的免费空间当做了发布前的预览的空间;而网站的内容是通过 CloudFlare 的 Pages 功能 host 的。通过这种方式,将 GitHub 的所有功能和空间作为开发服务;而 CloudFlare 定位为 DNS 和静态内的生产环境。
目前我的 blog 的工作流程是这样的:
 1
 2
 3
 4
 5
 6
 7
 8
 9
10
11
12
13
14
15
16
17
18
19
20
21
22
23
24
25
26
27
28
29
30
31
32
33
34
35
36
37
38
39
40
41
42
43
44
45
46
47
48
49
50
| # 第一步:在本地创建新的分支,并 push 同步到远程
➜ martinliu.github.io git:(master) git branch build-your-best-rack
➜ martinliu.github.io git:(master) git checkout build-your-best-rack
M themes/hugo-theme-stack
Switched to branch 'build-your-best-rack'
➜ martinliu.github.io git:(build-your-best-rack) git push origin build-your-best-rack
Total 0 (delta 0), reused 0 (delta 0), pack-reused 0
remote:
remote: Create a pull request for 'build-your-best-rack' on GitHub by visiting:
remote: https://github.com/martinliu/martinliu.github.io/pull/new/build-your-best-rack
remote:
To github.com:martinliu/martinliu.github.io.git
* [new branch] build-your-best-rack -> build-your-best-rack
# 第二步:用 hugo 命令创建新文章的文件,然后开始编写更新新文章
➜ martinliu.github.io git:(build-your-best-rack) hugo new content/post/build-your-best-rack/index.md
Content "/Users/martinliu/code/martinliu.github.io/content/post/build-your-best-rack/index.md" created
# 第三步:本地预览正常后,push 到 GitHub Pages 空间在远程预览 https://martinliu.github.io
➜ martinliu.github.io git:(build-your-best-rack) ✗ git add .
➜ martinliu.github.io git:(build-your-best-rack) ✗ git commit -m "review new post online"[build-your-best-rack e21fffe8f] review new post online
1 file changed, 6 insertions(+)
create mode 100644 content/post/build-your-best-rack/index.md
➜ martinliu.github.io git:(build-your-best-rack) git push --set-upstream origin build-your-best-rack
Enumerating objects: 9, done.
Counting objects: 100% (9/9), done.
Delta compression using up to 10 threads
Compressing objects: 100% (5/5), done.
Writing objects: 100% (6/6), 540 bytes | 540.00 KiB/s, done.
Total 6 (delta 3), reused 0 (delta 0), pack-reused 0
remote: Resolving deltas: 100% (3/3), completed with 3 local objects.
To github.com:martinliu/martinliu.github.io.git
49d889b6e..e21fffe8f build-your-best-rack -> build-your-best-rack
branch 'build-your-best-rack' set up to track 'origin/build-your-best-rack'.
# 第四步:在 GitHub 上发起并合并 pr
# 第五步:删除本地特性分支,删除远程特性分支,更新本地 master 分支。
➜ martinliu.github.io git:(change-to-new-theme) git checkout master
warning: unable to rmdir 'themes/hugo-theme-stack': Directory not empty
Switched to branch 'master'
Your branch is behind 'origin/master' by 5 commits, and can be fast-forwarded.
(use "git pull" to update your local branch)
➜ martinliu.github.io git:(master) ✗ git push origin --delete origin/change-to-new-theme
error: unable to delete 'origin/change-to-new-theme': remote ref does not exist
error: failed to push some refs to 'github.com:martinliu/martinliu.github.io.git'
➜ martinliu.github.io git:(master) ✗ git push origin --delete change-to-new-theme
To github.com:martinliu/martinliu.github.io.git
- [deleted] change-to-new-theme
➜ martinliu.github.io git:(master) ✗ git pull
|
根据这款新皮肤的提示,我查看了最新的 Hugo 的文档,为了发挥这个皮肤的图像 resize 功能,并且遵从新的编写 post 的规范。以后的所有新文章的 md 文件和图片文件都需要放到一个独立的新目录中。
新创建一篇 post 的时候使用这个命令:
1
| hugo new content/post/new-blog-test/index.md
|
在站点的根目录下执行这条命令后,会帮你创建新的目录和 index.md 文件;由于我的站点默认使用了中文语言,因此,如果我想写一篇英文的文章的话,我就需要将 md 文件的名字写成 index.en.md ;这个皮肤支持双语的,如果这篇文章也有中英两个版本的话,md 文件就应该有两个:
- index.zh-cn.md
- index.en.md
这样就有了中英文的两个独立的页面,而且两种语言各自的页面上,都会有一个语言切换的按钮,所以这个皮肤对于双语,或者多语言写作的人来说,应该是非常顺手的一个选择。我将主导航的那些页面都做出了双语的版本。
由于,我最后的所有静态文件和图片都发布到了 CloudFlare 的 Pages 服务里,而且它们还提供 CDN 服务,而这个功能在 GitHub Pages 空间中是不提供的。因此,以前我用 GitHub Pages host 这个 blog 的时候,每次编写和发布新文章的时候,还需要手工的将图片上传到其它第三方的图床空间中,然后在更新 md 文章中图片的网址,其实还是比较繁琐和麻烦的。
这个国庆节期间,我基本上也完成了 home lab 的 Rack 搭建项目,初步效果如下:
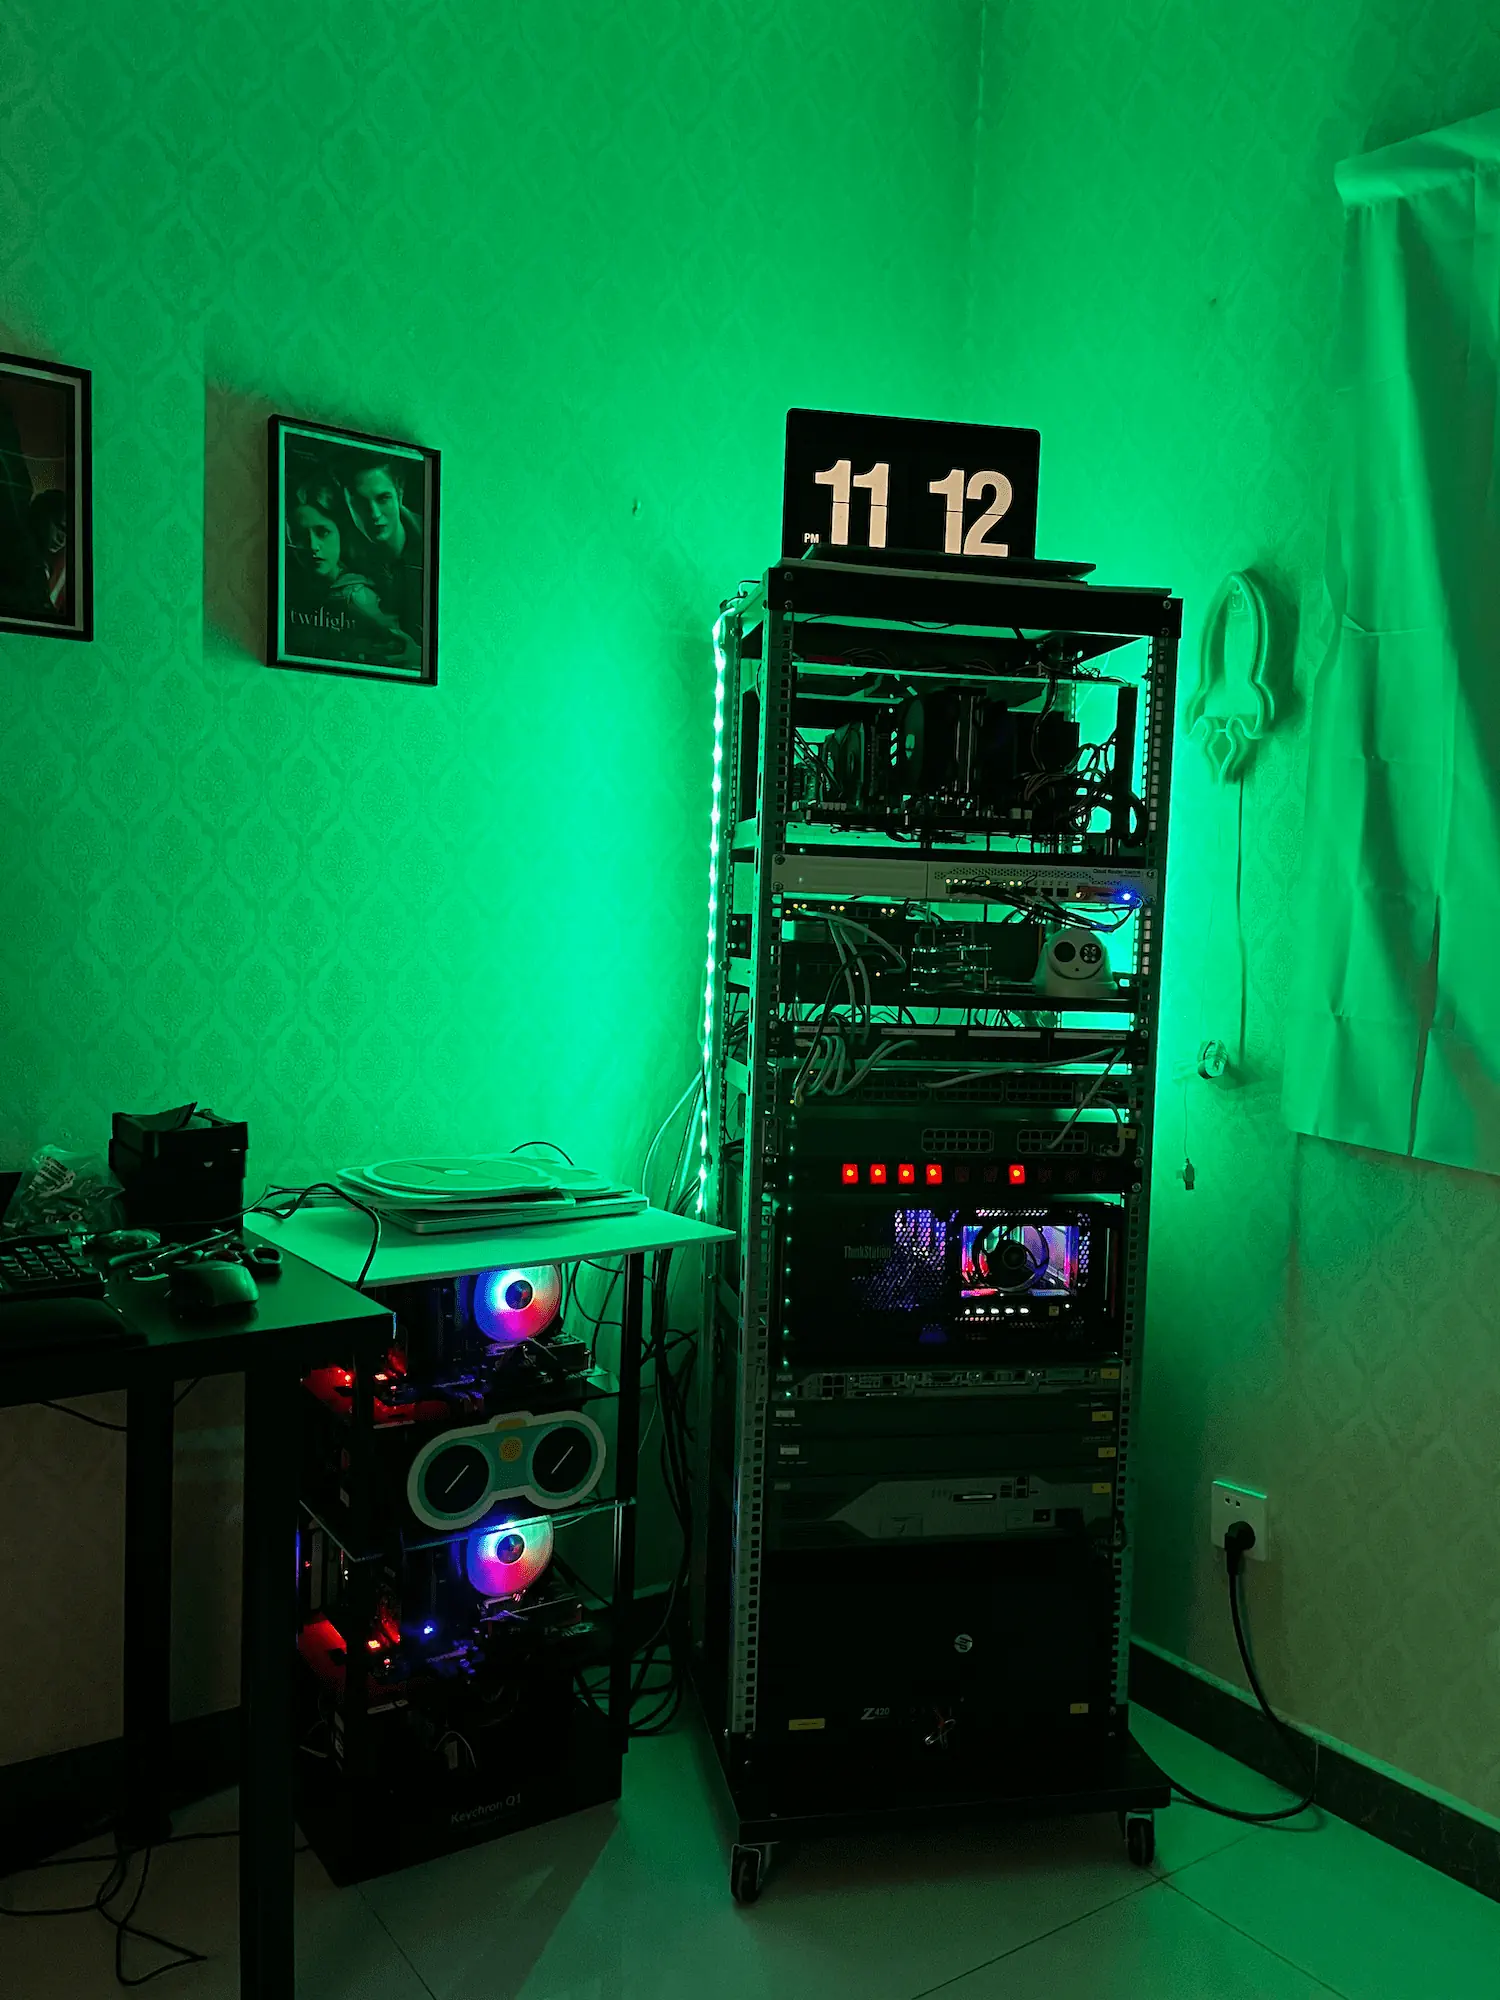
以上这张图片放置在了和 md 文件相同的目录中,插入这张图片的代码就变得异常简单了  ;而且图片也被拉伸到了和文章页面宽度等宽,大小合适的情况下会充满页面宽度,而且能够自适应浏览器显示器的宽度。
后续会出一些关于这个 home lab 的文章。
关于这个皮肤的使用文档,请访问: https://docs.stack.jimmycai.com/
如果你也喜欢这个风格的皮肤,请查看: hugo-theme-stack-stater
遗留问题:
- 左上角的头像图片无法正常显示
- 添加一种免费好用的评论互动插件
- 增加搜索功能
